
Whether you’re working out at home or in the gym, having a fitness timer to track your workouts and take one less thing off your plate can be so beneficial! And with so many out there, here’s the best free fitness timer I’ve found, used myself AND during fitness classes when I was coaching.
It’s nothing fancy, but it gets the job done while still allowing me to listen to my music on Spotify without interruption and to keep it locked in my pocket if I’m at the gym or using it on a run.
Plus, it’s super easy to set up and use, which is what I’m going to go over today!
This post is all about the best free fitness timer, how to use it and set it up.

The App
The app is called Interval Timer- HIIT Training by Nova Mobile, Inc. It does have ads at the bottom of the screen but there’s no sound or interruption from them. You may get a pop up ad that’s annoying if you press back too much, but with the directions I’m sharing you’ll never have that issue!
Once downloaded, it will pop up like this on your phone, so feel free to put it wherever makes the most sense for you!

Quick Tour
When you open the timer, you’ll most likely come across this screen. I would call this the home screen where your different workout options will be stored.
In all honesty, I just use the same timer over and over again, just adjusting the duration and sets each workout. I’ll be showing you how to do that, but any workouts you create will be stored here for easy access.
Sometimes the timer may open up to your last timer you had up which will look like this. It’s the starting point once you’re ready to go.
To get back to your home screen, just press the X in the upper left hand corner.
That’s honestly all you need! So here’s the set up and adjustment process you need.
How to Set Up
Now’s the fun part! And if I can get my mom set up on this with her frustration with technology, I can help you!

So you will always be given the ‘Untitled’ workout or routine option. I never have luck getting this one figured out, so I recommend just adding a new one. You can do that by pressing the big blue + button in the bottom right corner and choose HIIT since it’s the free option.
Name
Once you do that, a screen like this will pop up. At the top you can name your workout which I’d recommend doing if you plan on having a couple options, or to just differentiate from the original one you get automatically with the app.
Mine is labeled ‘boxing’ for this example, but I also have a running one too when I’m working on interval work there.
When I was coaching, I just named mine ‘Jessie’ because all the coaches had their own preference with the timer, but this makes the most sense for me.
Warm Up
After that, you’ll move on to ‘warm up’. This can be an actual warm up time, and will usually always start with 5 minutes.
However, I use it as the prep time to get ready for the workout.
If I’m doing a boxing workout, I set it for 1 minute to put my gloves on and get ready.
When I was coaching classes, I would set it for 15 seconds because I was always ready to get started at that point.
If I’m doing my running workout, I’ll set it for 30 seconds to walk out to the side walk, get a few hops in and then I’m ready to go.
So the warm up is up to you! I’ve seen coaches use it as their actual warm up time, so they limit it to how long they want it to be, and then press pause when they’re done (that never made sense to me so I won’t be sharing that).
Interval Cycle
This is the main portion of the app set up. This will break down how many sets or rounds you want to, then how long the active work time and rest time is.

To edit this, you’ll touch the ‘Interval Timer’ to open the options up. For number of set, look at this as how many times you want to go through things. Say you have 5 exercises you want to do 4 times. Then you’ll set the number of set to 4. And that too, you just touch and you can scroll to the number of rounds you want.
The next thing will be the two durations. It will say ‘Low Intensity’ and ‘High Intensity’. I honestly ignore this because the first tier you want is going to be the working set. And you have a few options.
For typical Tabata style training, it’s usually 20 seconds of work and 10 seconds of rest. So for this example, you would set the ‘Low Intensity’ to 20 seconds and the ‘High Intensity’ to the 10 seconds. This is just how the timer best works.
If for instance you’re working on running intervals, you may be at 2 minutes of running and 1 minute of walking. If that’s the case, then ‘Low Intensity’ would be 2 minutes and ‘High Intensity’ will be 1 minute.
One final example is for boxing combos which is what I use this for the most and what my last coaching job was used for. My favorite amount of time is 45 seconds of work and a 15 second rest. So, again, ‘Low Intensity’ would be 45 seconds and ‘High Intensity’ would be 15 seconds.
Hopefully that makes sense with those 3 examples!
But the other 2 things you can adjust if you’d like are the colors to separate the 2 (which in all honesty doesn’t matter at all so leave those be or adjust if you’d like because it’s just whatever color the timer lights up during that specific part of the workout) and the Sound.
When I was told how to set up the timer, we went with ‘BoxingBell’ for the start of the round or set, and ‘BoxingBell3’ for the end of the round or set and to let you know it was time to rest. So you can choose whatever 2 sounds make sense for you. If you don’t know, just go with the boxing bells so you know when to stop and start.
Once that’s all set, click the back arrow to go to the main adjusting page again.
Rest Time

Before this you’ll see Repeat and Number of Cycles. You can play around with this if you like but I’ve never used it.
Rest time is just before the cool down. And since we’ve set up the app that the first time to go off is the working set, you really don’t need a rest time at all. So I always have this set to 0 or 15 seconds. 15 seconds allowed enough time for me to stop the timer before it moved onto ‘Cool Down’.
This too is not really needed but feel free to play around if you’d like.
Cool Down
‘Cool Down’ is just as it sounds. It lets you know the workout is completely done and gives you a timer if you have a cool down routine and stretches to do after that you want to make time for as well.
This option too has a sound and color you can choose or just leave be. Again, I always turn off the timer before this happens, but it literally won’t hurt anything if you choose to keep or add it in.
And that’s it! Hit ‘Save’ in the upper right hand corner and you’re good to go!
I will say if you go back to adjust, which I’ll explain next, you may get an add after saving and hitting the back arrow in the upper left hand corner, but otherwise there will be no interference when actually using the app during the workout.
It’s usually a couple seconds and you can click out of there. But it will take you back to the home screen where you’ll see your new workout name and the amount of time that workout is start to finish.
Workout Ideas and Timing
Like I said, you can create a timer for each workout and workout style you’d like. So if you have 3 different boxing times you like to use, like a 45 second, 1 minute or 2 minute round, you can have a timer for each and just name them properly.

Or, what I do, have one main timer and adjust it each time.
How you do that is by clicking on the workout you want, and when it opens up to the timer, you hit the edit symbol in the upper right hand corner to get you back to adjust the times and timer. Then you just go from there if you want to adjust how many times through you want to go, how long you want each working or rest set to be, etc.
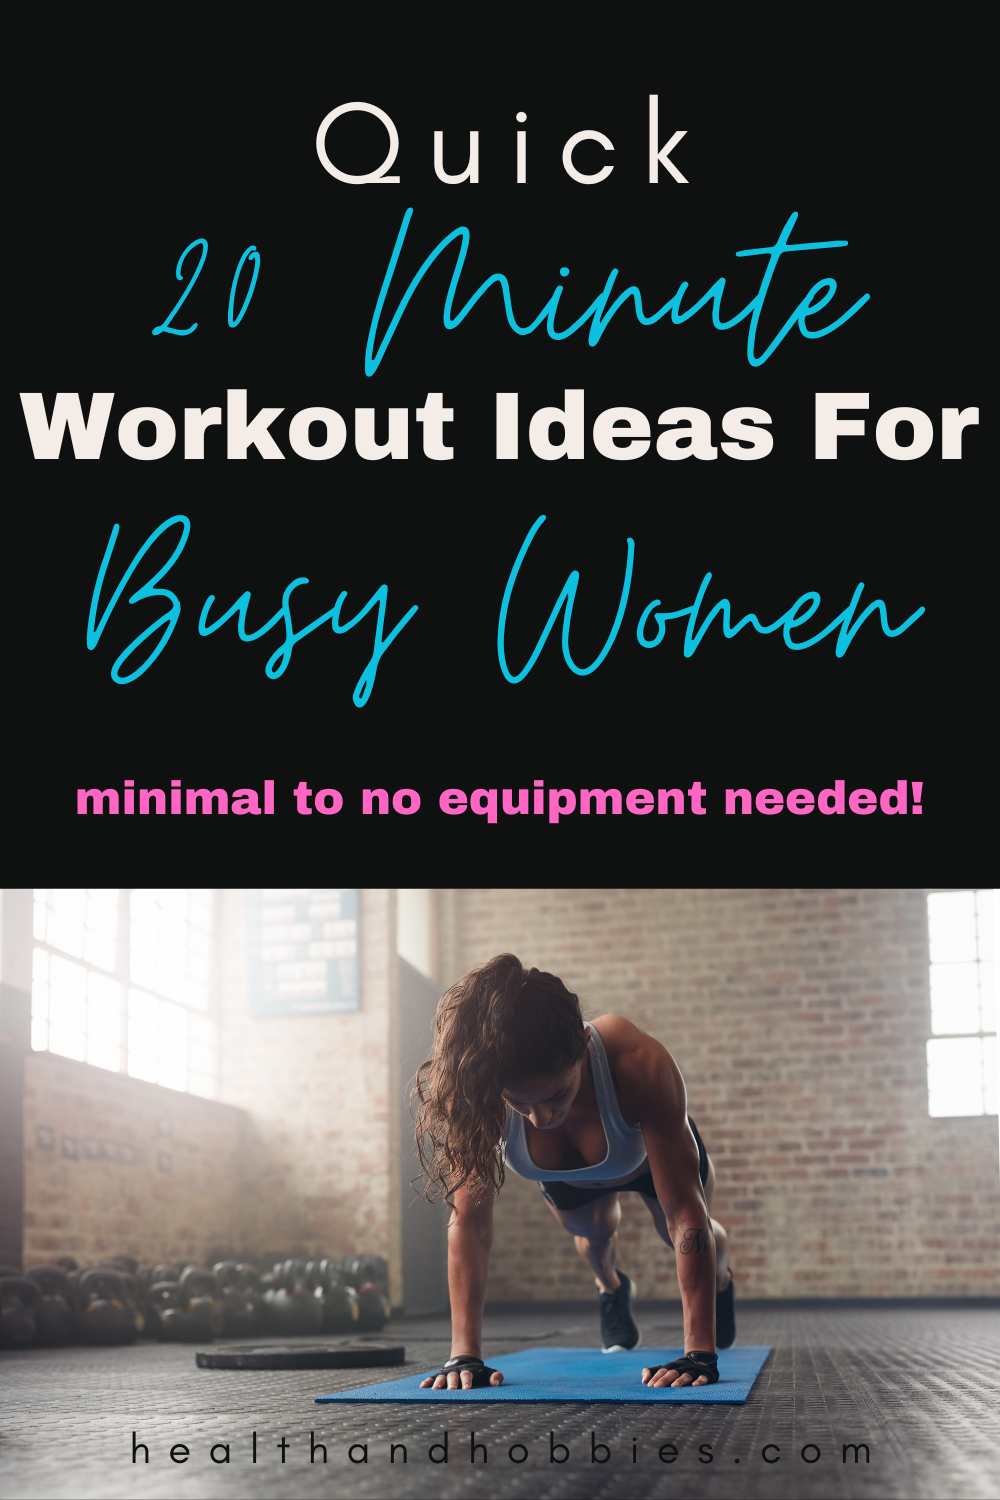
So here’s some examples and you can refer to my Quick and Effective 20 Minute Workout Ideas For Busy Women blog to get a visual of the exercises, workout, etc.
Kettlebell Workout
If we were doing one of the kettlebell workout, there are 7 exercises listed. Say I wanted a minute to do each exercise, a 20 second transition to get to the next exercise, and I wanted to do each exercise 3 times.
I would set the rounds to 21, the ‘Low Intensity’ to 1 minute, the ‘High Intensity’ to 20 seconds and save. That would allow each exercise to go through 3 times.
Boxing Combos
Here’s another example using the boxing combos listed on the blog. There are 10 combos listed and I’d want to go through all 10 2 times, with working sets at 45 seconds and resting for 15 seconds.
I would set the rounds to 20, the ‘Low Intensity’ to 45 seconds, the ‘High Intensity’ to 15 seconds and click save. I also set ‘Warm Up’ to 1 minute to make sure I have enough time for a last drink of water, putting my gloves on and getting ready.
Running Workout
Ok one more that’s not listed but I do personally. I’m working on running and currently doing intervals to get distance and time running under my belt. I want to get close to 30 minutes of running under my belt and have worked up to running for 5 minutes at a time with a 1 minute rest between. I want to work on doing that 5 times to get close to that 30 minutes.
So, again, I set the rounds to 5, the ‘Low Intensity’ to 5 minutes, the ‘High Intensity’ to 1 minute, then click save. I also have the ‘Warm Up’ set for 30 seconds to get out to the street or sidewalk, put my phone away and lock (which it does still work when locked!) and make sure my music is playing (which also works with the timer! Just have the music playing then go back to the timer and press start whenever you’re ready. Also why having something different than typically what you’d hear in the music set for your start and stop timer is best).
EMOM Workout
A final added general workout program is an EMOM, or every minute on the minute. This is another great option with you’re short on time, have a few exercises to do and either don’t have to worry about counting or can have a set number of reps for each exercise and once you’re done, the rest of that minute is to rest.
As an example, say one of the exercises in your EMOM is 10 burpees. If 10 burpees takes you 30 seconds, then you get the rest of that minute to rest. If it takes you the whole minute or you aren’t able to finish, then you just jump right into the next exercise. No rest at all.
So this is a great way to test your progress by coming back to the same workout and seeing if you’re able to get it done faster than before with the same reps and weights. As far as setting up with the timer though, it’ll look a little different.
For this set up, you just need to be aware of how many exercises you’re wanting to do, and how many times you want to do each of them.
So for instance, if you have 6 exercises and you want to do each of them 3 times, here’s how you would set up the timer. ‘High Intensity’ would be set at 1 minute as well as “Low Intensity’ because there is no scheduled break for an EMOM.
As far as rounds go though, this is where it can be a little tricky. Since both Low and High Intensity each count as an exercise, you’ll have to adjust the rounds differently. For this example, you would set it to 9. If, however, you wanted to do 5 exercises 4 times through, it would be 8 rounds, but the final minute would just be the end of your workout. So you’d need to remember that when the timer goes off.
And that’s it! Exactly how to set up this specific fitness timer, recommendations on times to use for workouts and little helpful bits.
Other timers will be similar and I’d recommend that same, the set up will just look different.
I hope this was helpful and you have fun with more variety in your workouts! Again, check out the Fitness section of my blog for all kinds of workout ideas, tips and tricks to get the most out of movement and fitness in your life!


Leave a Reply